
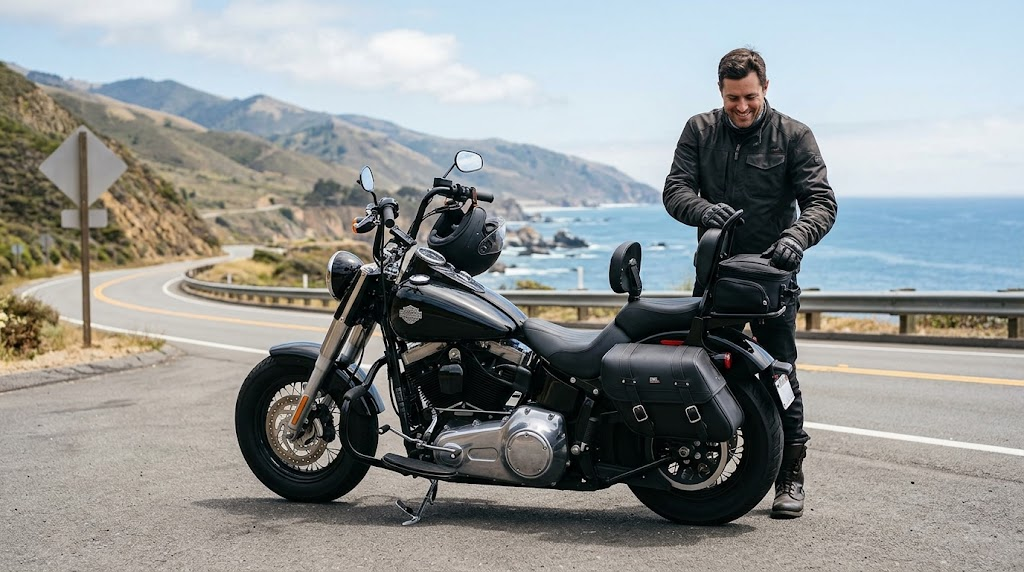
Most Harley customization starts with looks. A new exhaust tip, a different paint scheme, maybe some chrome trim. That’s a fine place to begin, but riders who actually spend hours in the saddle every week tend to shift their attention somewhere else after a while. They start caring more about how comfortable the ride is after two hundred miles, where their gear goes, whether they can see what’s behind them, and how easy the bike is to live with day to day.
That shift in priorities is really what a good upgrade plan should follow. Instead of adding accessories because they look good in photos, it makes more sense to build around how the motorcycle is actually ridden. A commuter bike and a touring bike don’t need the same setup, even if they’re the exact same model.
Start With How the Harley Is Used
Before buying anything, it helps to be honest about the kind of riding that actually happens most often. A bike used for a short daily commute has different needs than one that gets loaded up for a weekend trip or a multi-day tour.
Daily riders usually benefit most from small comfort and convenience upgrades, since long hours in the saddle aren’t really the issue. Weekend riders start needing more storage and better visibility, since they’re covering unfamiliar roads and carrying a bit more gear. Long-distance touring riders feel the difference most, because seating position, luggage capacity, and rear visibility all get tested for hours at a time. Riding two-up adds another layer, since passenger space and comfort have to be part of the plan rather than an afterthought.
Highway riding in particular tends to expose whatever is missing from a setup. At sustained speed, a rider notices foot position, wind pressure, and mirror stability much more than they would around town. Thinking through these riding patterns first makes it a lot easier to decide what actually deserves space on the bike.
Improve Riding Comfort First
Comfort is usually the upgrade that pays off fastest, and it’s a logical place to start before adding anything else. Highway pegs and floorboard extenders are common choices here, since they let a rider shift leg position on longer stretches of road instead of staying locked into one posture for hours.
The key thing to check with any comfort accessory is clearance. Pegs and footrest extensions need to sit where they won’t interfere with the shifter, brake lever, or normal riding stance, and they shouldn’t restrict how quickly a rider can plant their feet if needed. A comfort upgrade that gets in the way of safe operation isn’t really an upgrade at all. Once the base riding position feels right, everything else on the bike tends to fall into place more naturally.
Add Storage Without Overloading the Motorcycle
Storage is where a lot of riders run into trouble, mainly because it’s tempting to buy the biggest bag or rack available instead of the one that actually fits how much gear gets carried. Saddlebags, luggage racks, and Tour-Pak organizers all serve different purposes, and picking the right one starts with a simple question: what does this bike actually need to carry, and how often?
Before adding any storage accessory, it’s worth thinking through a few things. What gets packed on a typical ride, whether there’s a passenger most of the time, how much clearance exists near the exhaust and rear suspension, where the added weight will sit once the bike is loaded, and how easy it will be to get into the bags without unpacking everything else first.
Exhaust clearance deserves particular attention with soft bags or larger saddlebags, since prolonged heat exposure near the pipe can affect the bag material or whatever is stored inside. Riders comparing options for their own setup often spend some time looking at Harley accessories built specifically for saddlebags, racks, and Tour-Pak organizers, since fitment and mounting position vary quite a bit between models and riding styles. A rack that works well on a Street Glide isn’t automatically the right choice for a Road King.
The table below breaks down a few common upgrade areas and what’s worth checking before buying.
| Upgrade Area | What It Improves | What to Check |
| Highway Pegs / Footrests | Long-ride comfort | Riding position and clearance |
| Saddlebags | Carrying capacity | Exhaust and suspension clearance |
| Luggage Rack | Touring storage | Load position and passenger space |
| Mirrors | Rear visibility | Field of view and mounting |
| Organizers | Easier gear access | Available storage space |
Improve Visibility and Everyday Convenience
Visibility upgrades don’t get as much attention as storage or comfort, but they matter just as much once a bike is actually being ridden regularly. Long stem mirrors or side mirrors with a wider field of view can make a real difference in traffic, especially once saddlebags or a luggage rack have changed the bike’s rear profile slightly.
Small convenience upgrades matter too, even if they’re not exciting. A Tour-Pak lid organizer or a saddlebag organizer insert doesn’t change how the bike looks from across a parking lot, but it changes how quickly a rider can find their gloves, phone, or paperwork without digging around. Practical upgrades like these tend to earn their keep faster than purely cosmetic ones, simply because they get used every single ride.
Make the Accessories Work as One Setup
One mistake that’s easy to fall into is buying accessories one at a time without thinking about how they’ll interact with each other. A luggage rack purchased separately from a saddlebag setup might end up competing for the same mounting space, or a passenger footpeg kit might not leave enough room once a Tour-Pak organizer is installed.
Before adding a new accessory, it helps to check the motorcycle’s model and year, what’s already installed, the available mounting points, how much room the passenger area actually has, clearance around the exhaust and rear suspension, and whether the new part will crowd the handlebar or existing controls. Riders doing broader research into fitment and compatibility across different accessory categories sometimes spend time on the KEMIMOTO site comparing how various parts are meant to work together rather than buying pieces in isolation.
The goal isn’t to end up with a pile of separately purchased parts. It’s a bike that functions as one coherent setup, where every accessory has a reason for being there and nothing is fighting for the same space.
Build in Stages
Trying to upgrade everything at once usually backfires, mostly because it becomes hard to tell which change actually made a difference. A more logical approach is to build in stages, starting with comfort, then storage, then visibility, then smaller convenience items, and finally any cosmetic details.
Riding the bike for a while after each significant change is worth the patience. A rider might find that a comfort upgrade solved most of what felt like a storage problem, or that a new mirror made a planned lighting upgrade unnecessary. Spacing changes out this way also makes it easier to catch clearance issues before they become a bigger installation headache down the road. Simple bolt-on accessories are usually fine for most riders to install themselves, but anything involving wiring, braking, steering, or frame mounting is generally better left to someone with more experience.
Conclusion
A well-planned Harley upgrade isn’t measured by how many accessories end up on the bike. It’s measured by whether the motorcycle actually rides better and works better for the person on it. Comfort, storage, visibility, and everyday convenience all matter more in daily use than most cosmetic changes ever will, and none of them require turning the bike into something unrecognizable.
The best approach is usually to look at how a bike is actually ridden, week to week, and build around that rather than copying someone else’s setup from a photo or a forum post. What works for a Road Glide loaded up for a cross-country trip won’t necessarily suit a Sportster used for a short commute, and that’s fine. The point isn’t matching another rider’s build. It’s ending up with a motorcycle that fits the way it’s actually used.


